It can be a little difficult at first to decide on your subject matter as there are so many flowers from which to choose. I suggest that to begin with you keep things simple. Don’t rush off to an expensive flower shop or raid country lanes but look very carefully in your garden or window box for inspiration. You will be surprised at the simple beauty of a garden weed and amazed at the complexity of many leaf forms.
Certain flowers have a strong emotional appeal so let yourself be bowled over by a cheeky sunflower or beguiled by that tiny violet. Having a feeling for your subject will result in a sympathetic drawing no matter how amateur your first efforts seem.
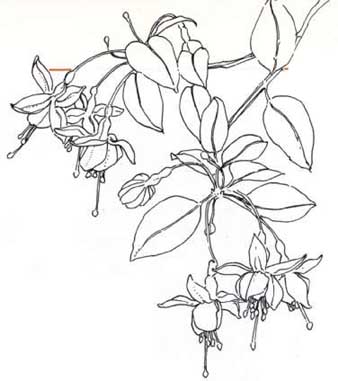
A careful observation of detail with a technical pen will familiarize
you with the shapes in a particular flower, in this case a fuchsia.
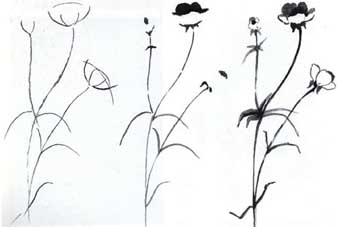
The humble buttercup is as rewarding to draw as a more complex
flower. Here notice the three stages building up to the final drawing.
Mood and atmosphere:
Certain flowers will evoke a feeling of time and place. Think, For example, of geraniums on a sunny terrace or bluebells in a shady wood. Occasionally flowers such as the waxy orchid can be quite sinister, while lilies always retain a sense of mystery.
Forms and textures:
Explore the texture of flowers and plants. Some are fleshy, some paper-thin.
Look at the growth pattern of a plant — does it creep tenaciously
upward like ivy, float elegantly like fuchsia, or droop heavily down
like wisteria?
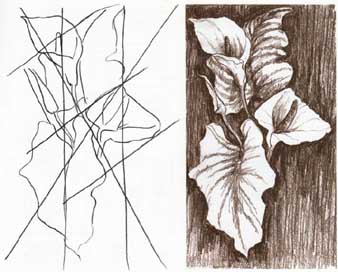
1. Some flowers, such as the arum lily, present obvious vertical and diagonal lines. Work these out first (above left).
2. Having established the structural lines, the lily can then be placed against a dark background to create a sense of mystery (above right).
== TIP: Always draw your directional lines very lightly so that they can be easily erased in your final drawing. ==
Where to look for flowers:
When they start to draw, many people feel more confident working on a still life of flowers, chosen and arranged to their personal liking. However, don’t forget that flowers can be found in many different locations. The most obvious choice would be your local park. Here you can decide whether to draw flowers in ‘close up’ or sketch a herbaceous border. Be prepared, though, for the occasional curious onlooker.
Many parks or municipal gardens have botanical hothouses. They are a rich source of inspiration if you want to draw exotic plants such as the orchid and other rare breeds. Investigate your own or other people’s vegetable patch (get permission first). Vegetable flowers, such as those of the courgette, can be unexpectedly beautiful. On cold, wet, winter days explore a conservatory for new ideas, and you might be surprised at what is flowering in a neighbour’s greenhouse!
Drawing on holiday:
A holiday beach might seem an unlikely place to find flowers, but have you considered the beauty of sea holly or looked at the waving fronds of seaweed in rock pools?
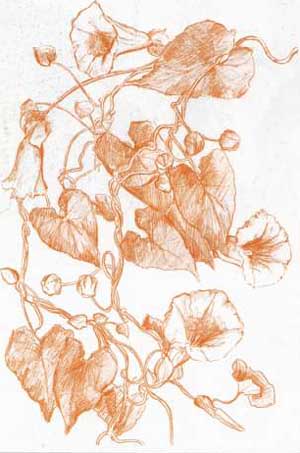
Soft graphite pencils record the intricate twists and turns of
the well-named bindweed (above).
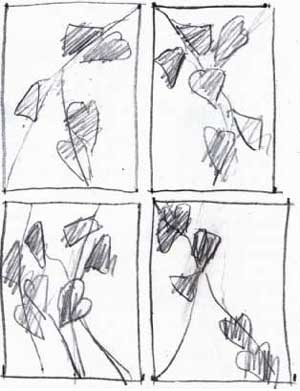
(above left, above right) To simplify a complicated subject, it’s a good
idea to make a series of thumbnail sketches exploring the various design possibilities,
as shown. (below left, below right) Be selective: look for the most dominant
structural lines and combine these with the strongest shapes to create the most
pleasing arrangement.
Hotel and restaurant terraces are often decorated with a wealth of flowering pots and hanging baskets, and many towns are bright with flowers, plants and flowering shrubs.
Waterfalls, rivers and ponds are hopefully rich with plant life and are excellent locations to explore for ideas. Water lilies are a delight to draw and it’s pleasant to sit beside a sunny pond and to imagine that for a moment in time you are Monet drawing in his Giverny garden.
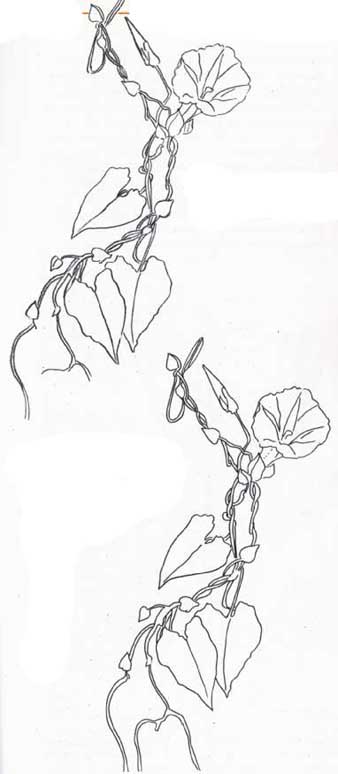
1 The initial design is drawn in fine, black felt-tip pen on layout paper (top).
2 Tracing paper is laid over the design and the drawing is copied in HB pencil (above). 9B pencil is rubbed on the back of the paper over the design.
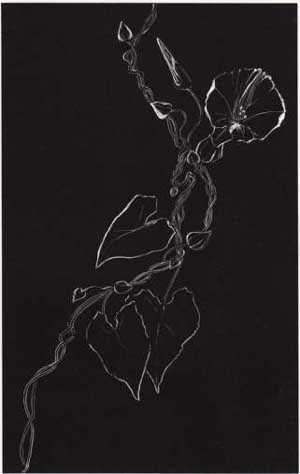
3 The tracing paper is laid over the scraperboard and secured
by tape. The design is then traced with an H pencil. The paper is removed
and a stylus used to draw over the penciled lines (above).
top of page Home Page